Saved recipients are private and visible only to your team. You can add them at any time — no payment or approval is required.
Adding a Recipient
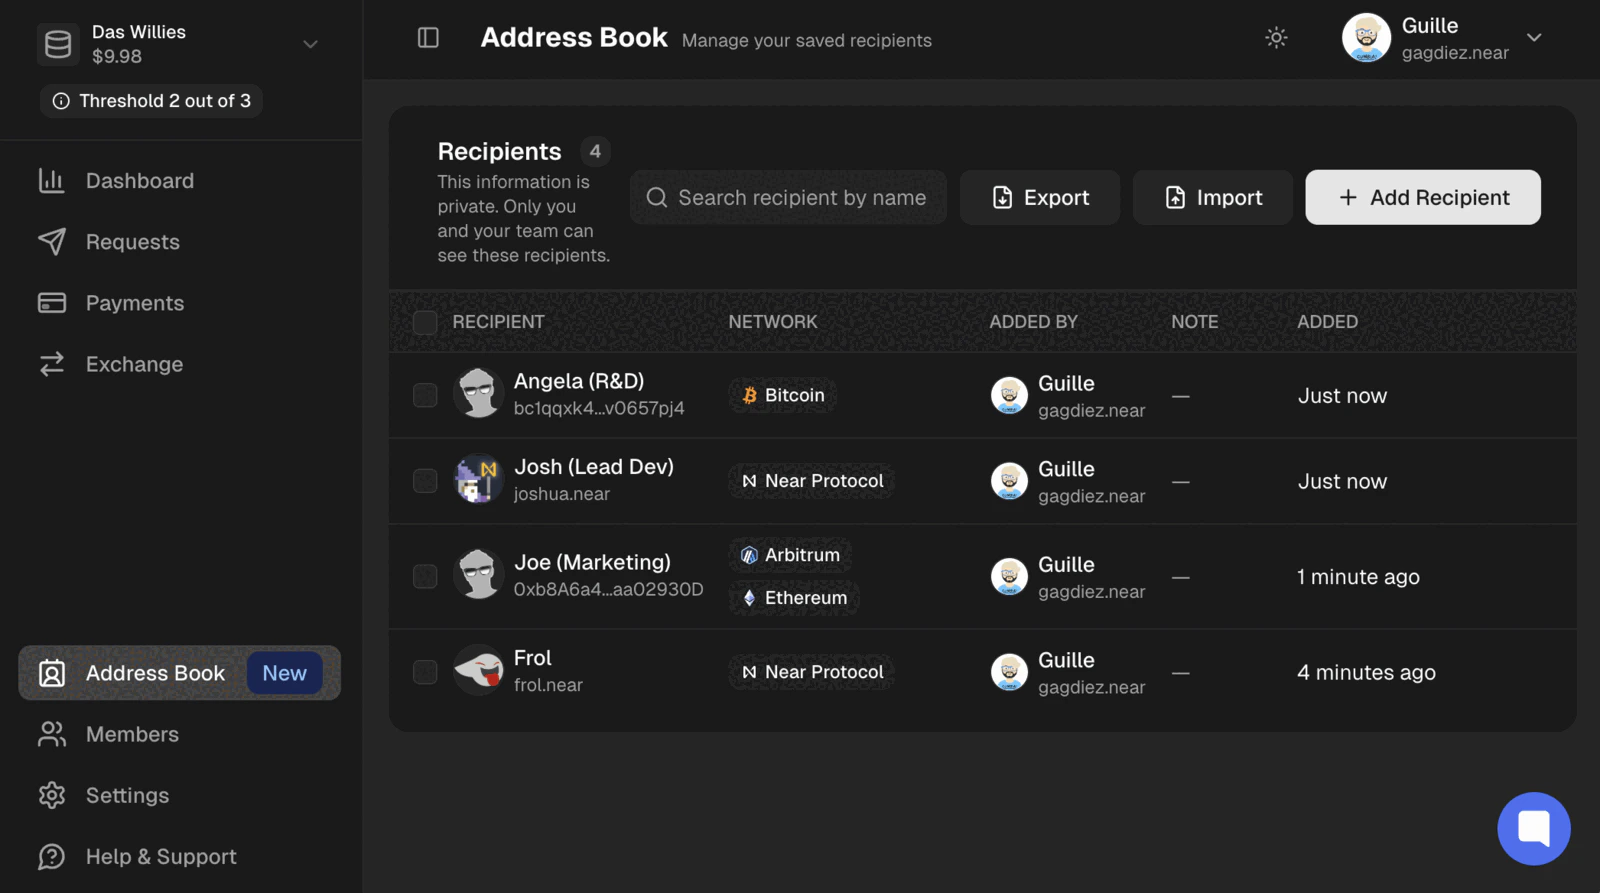
Navigate to theAddress Book section in the left sidebar and click Add Recipient. Then fill in:
- Recipient Name — a label to identify the contact (e.g. Alice).
- Recipient Address — the wallet address.
- Network — one or more networks compatible with that address.
- Note (optional) — extra context, such as contractor payment or vesting distribution.
Add Another Recipient, then Review Details to confirm and save them all.
Saved recipients can’t be edited. To change a recipient’s details, remove it and add it again.
Importing Recipients
To add many recipients at once, clickImport. You can either upload a CSV file or paste the data directly.
The data uses four columns:
- Network can list several networks for the same address, separated by a semicolon (e.g.
Ethereum;BNB). - Note is optional and can be left blank.
Continue to Review to confirm. Recipients that already exist in your address book are marked as duplicates and skipped, so only new ones are added.
Exporting Recipients
ClickExport to download your saved recipients as address-book.csv, in the same four-column format used for import.
If you select specific recipients first, only those are exported. Otherwise the whole address book is downloaded.
Removing a Recipient
To remove a saved recipient, click the delete icon on its row and confirm. To remove several at once, select them using the checkboxes and clickRemove.
Removing a recipient only deletes it from your address book — it has no effect on past payments.